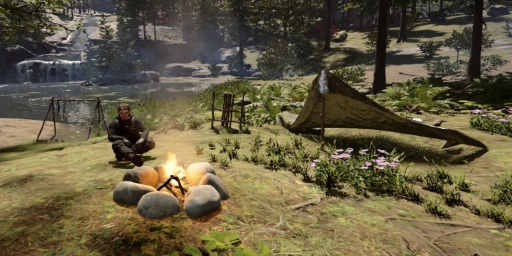
Sons of the Forest is the successor to the popular survival title The Forest and once again throws you onto a wild island filled with mutants, puzzles, and scarce resources. Even over a year after release, many are starting the game for the first time – or returning after Early Access and need to refresh the basics. To keep you from failing right away to hunger, cold, or enemies, here’s a compact, practical beginner’s guide.
Sons of the Forest settings: Choose difficulty and custom options wisely
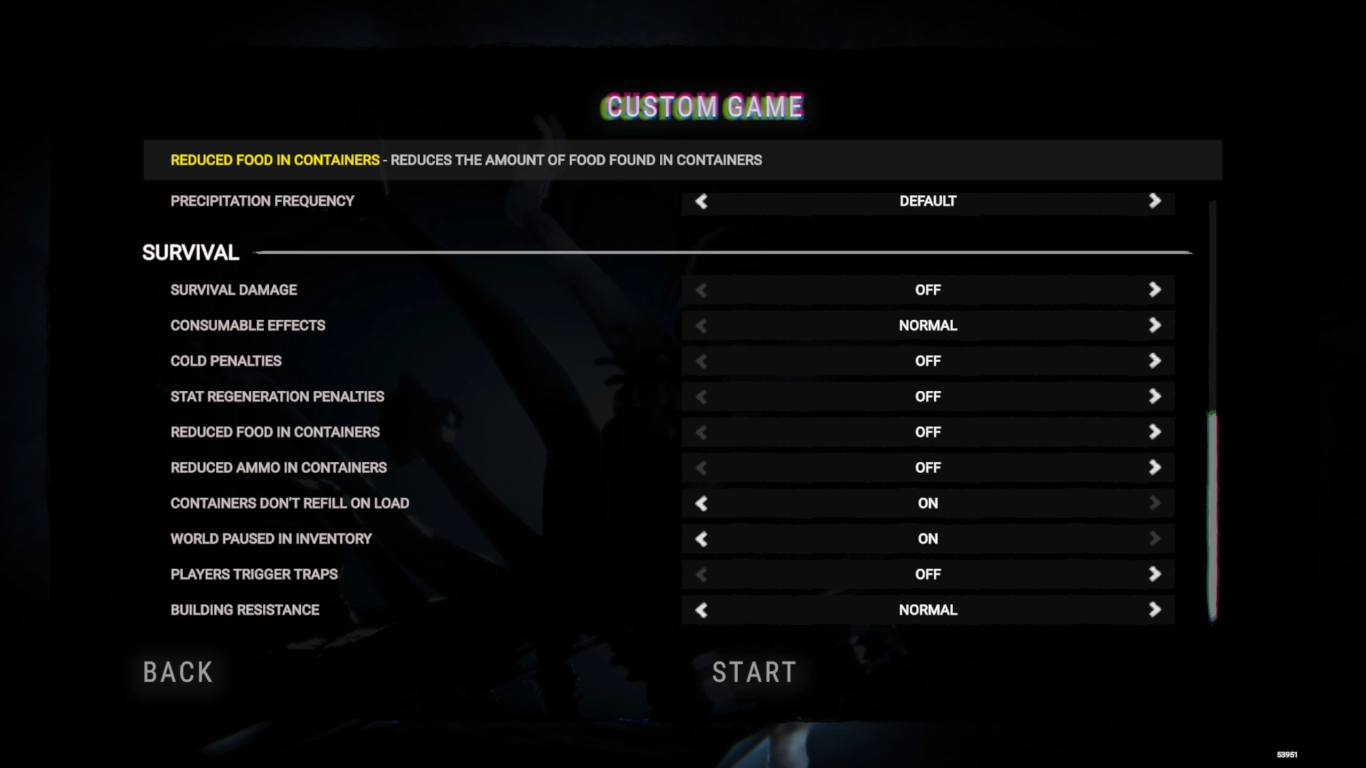 Before you start, take a look at the main menu. You can choose preset difficulty levels from “Easy” to “Hard,” or use **Peaceful** mode for relaxed **basebuilding**. Under **“Custom”** you can fine-tune settings – such as **loot amounts**, **day and season length**, or whether **player-built structures** can be damaged. Tip: For your first hours, moderate enemy strength, longer days, and normal loot are ideal.
Understand spawn points: Use forest, mountain, and beach correctly
 Your crash site is random – each location has pros and cons:
- Forest: Near rivers, with fresh water, fish, and plenty of wildlife – very beginner-friendly.
- Mountain: Beautiful but tough. First, follow downstream to find resources.
- Beach: Loot in boats and crates. Later, move inland.
If you don’t like your spawn, restart. At the crash site, you’ll find food, drinks, and basic gear in the suitcases – take everything.
Companions Kelvin and Virginia: Use AI helpers effectively
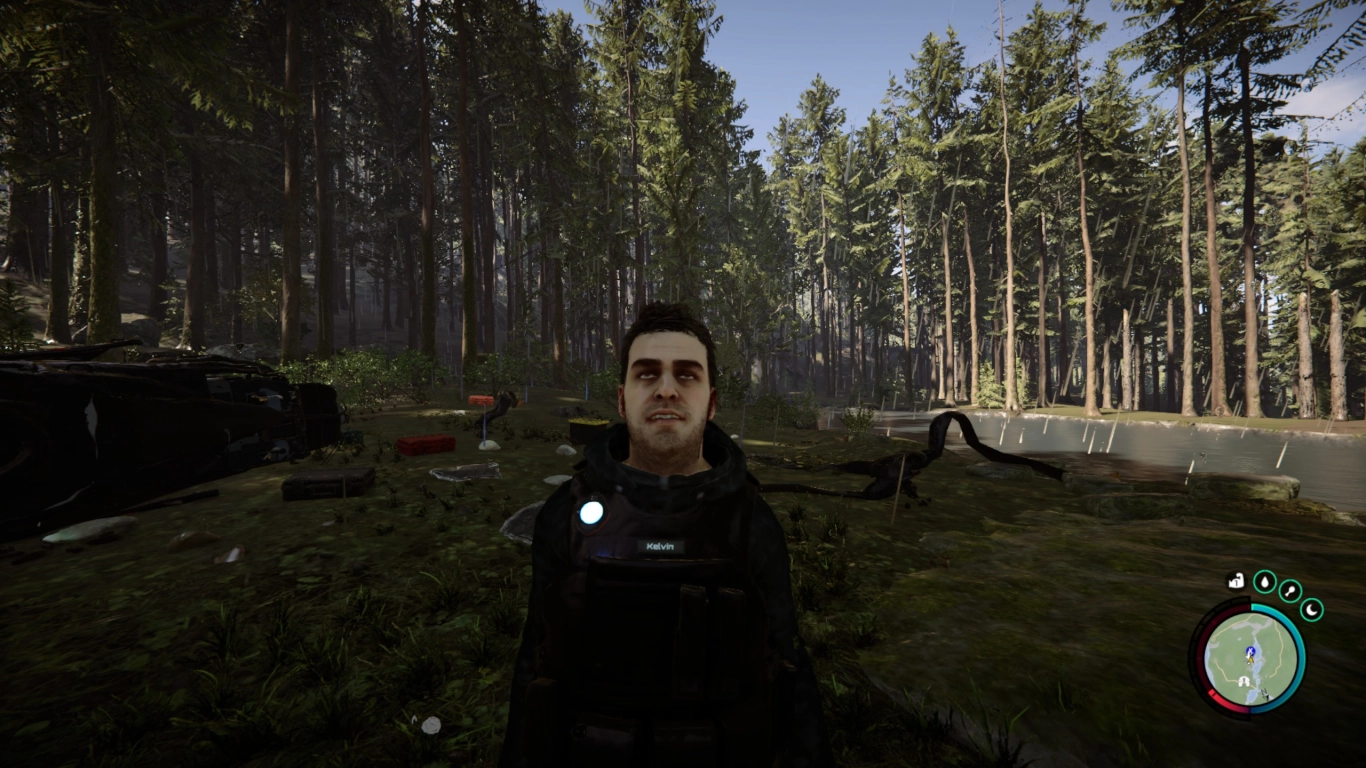 Shortly after the crash, you’ll meet **Kelvin**. Use the **notepad menu** to tell him to **gather resources**, **make a fire**, **build shelter**, or follow you. Keep an eye on him: Kelvin can **die** – and you’ll lose a major help. Later, you’ll encounter **Virginia**. Don’t attack her – she’s shy but friendly and will gradually become a strong ally.
Pro tips:
- Have Kelvin farm sticks and stones while you explore.
- Build him a safe base (not directly on enemy patrol routes or near camps).
- Kelvin is invaluable in solo runs – make active use of him.
Inventory, crafting, and shortcuts: Master the basics
 Open your inventory with **Tab**. In your **survival kit**, you’ll find a **small axe**, **lighter**, **GPS tracker**, and a **survival handbook** – open it right away. Use:
- **Quick access 1–9**: Assign frequently used items to the number keys.
- **Backpack quick slot (key I)**: Equip preferred tools faster.
- **Crafting on the mat**: Place items in the center and combine them using the **gear icon**.
Open your inventory with **Tab**. In your **survival kit**, you’ll find a **small axe**, **lighter**, **GPS tracker**, and a **survival handbook** – open it right away. Use:
- **Quick access 1–9**: Assign frequently used items to the number keys.
- **Backpack quick slot (key I)**: Equip preferred tools faster.
- **Crafting on the mat**: Place items in the center and combine them using the **gear icon**.For the start, a spear is worth it: 2x stick + 1x duct tape + knife. Ideal for hunting and for reach against attackers. Also keep the GPS tracker handy to mark important spots and find bunkers/caves.
Shelter & basebuilding: Build correctly and safely
 Open the handbook with **B**. There are two building styles:
- **Blueprint system** (like in the first game): Choose a recipe, place the silhouette, add resources.
- **Free placement system**: Place materials directly in the world – very flexible.
Open the handbook with **B**. There are two building styles:
- **Blueprint system** (like in the first game): Choose a recipe, place the silhouette, add resources.
- **Free placement system**: Place materials directly in the world – very flexible.Switch between views with X. At the beginning, a tarp + stick tent is enough for saving and sleeping. You often find a tarp at the crash site; get sticks by chopping small bushes with the axe.
Safe building tips:
- Build near a river (water source), but not directly on main patrol paths.
- Set up storage early (sticks, stones, logs) so Kelvin can stack efficiently.
- Keep seasons in mind: In winter, water bodies freeze, animals are scarcer – stock up.
Food, water, and hunting: Survive quickly and efficiently
 Your HUD in the bottom right shows **hunger** and **thirst**. Here’s how to keep yourself supplied reliably:
- Drinking: From rivers and streams. No seawater! Later, build containers or use collection systems.
- Berries: Handy, but some are poisonous. Learn safe varieties before snacking in bulk.
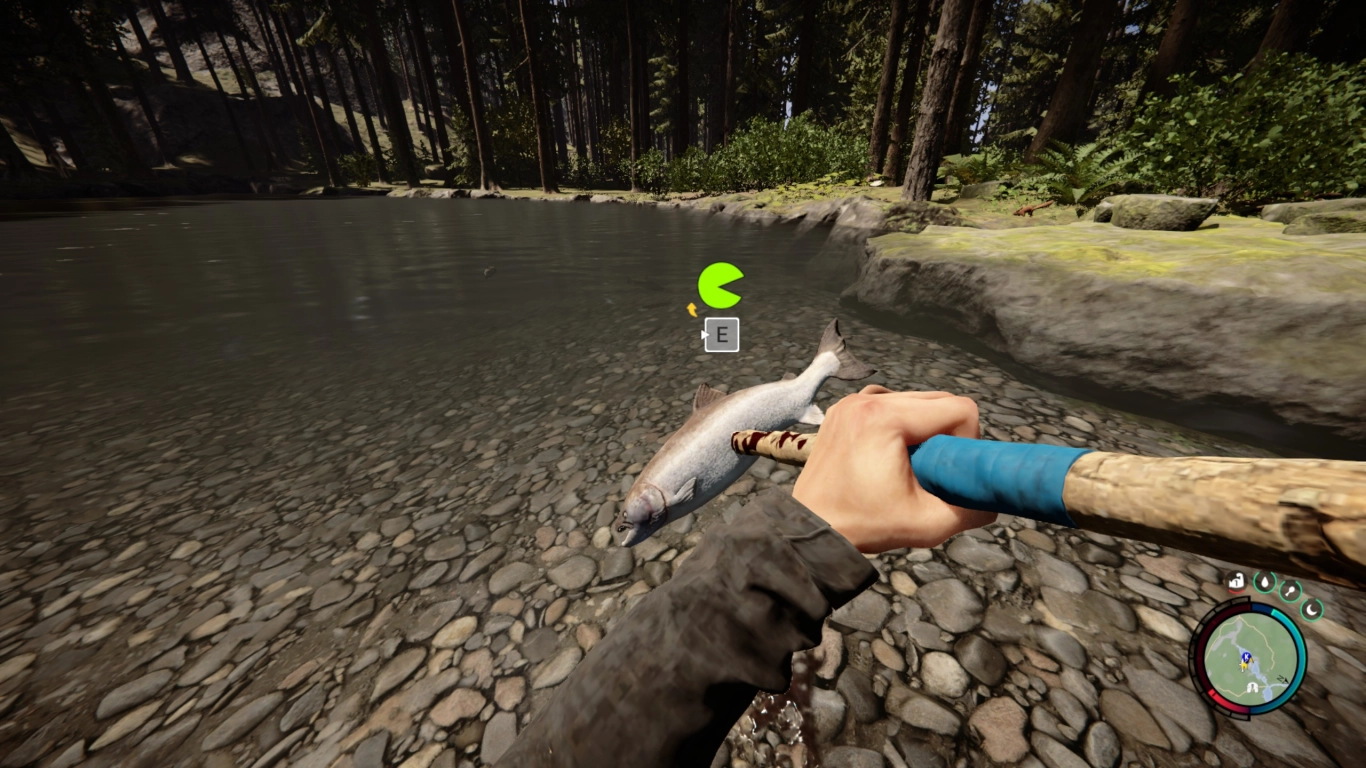
- Hunting & fishing: Use the spear to catch fish from rivers; small animals (rabbits, birds) provide early meat.
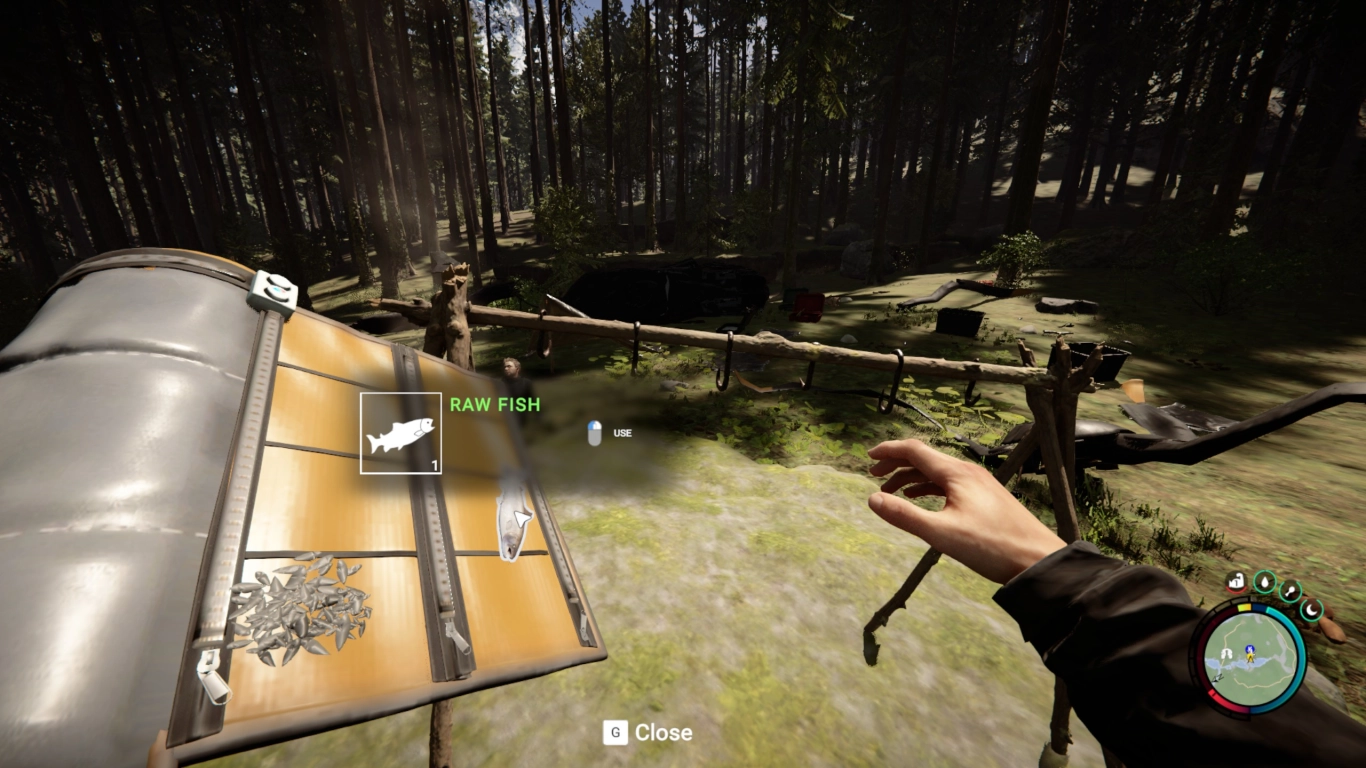
- Cooking & drying: Cook meat over a fire; avoid raw or spoiled meat. Snacks are for emergencies.
Extra tip: Always keep some cooked meat and energy bars in your inventory and save regularly, especially before caves and fights.
Conclusion: Start your adventure safely with this guide
Sons of the Forest is still a top-tier survival game and surpasses its predecessor in many areas. With the right settings, a smart starting location, solid resource management, and the help of Kelvin and Virginia, you’ll master the early hours with confidence. If you want to jump in with friends, you can rent a server here: Rent a Sons of the Forest server now – gathering, building, and exploring is even more fun together.
More interesting articles
Sons of the Forest: 8 Pro Tips for Long-Term Survival
Sons of the Forest: 7 Advanced Base-Building Tips
Sons of the Forest: Building System Guide – Blueprints, Free Build, Base Building
Sons of the Forest: Surviving Winter – Duration, Tips, Food & Warmth Guide
Sons of the Forest Enemies: Locations, Weaknesses & Best Tactics